Here is some additional work from my last trip to the wind farm. The primary purpose of this trip was to experiment with some night photography out on the farm for a project I have started. For me this type of night photography is interesting and presents its own unique set of challenges, many of which I learned by trial and error. Other times, I just found happy accidents that I plan to repeat in the future.
In the image below you can see one such happy accident. The red fingers that stick up out of the top and sides of the wind turbine are a result of a little red light so that you can see the towers in the dark. I imagine they are for low aircraft and the like. These lights flash on and off at set intervals. Depending on the length of the exposure and speed of the blades you can get just a few to dozens of red fingers reaching out into the sky. The first image that came up like this on the back of the camera had me thinking..”What in the hell is that?” And not 1/2 second after that was “Wow that is freaking cool!”
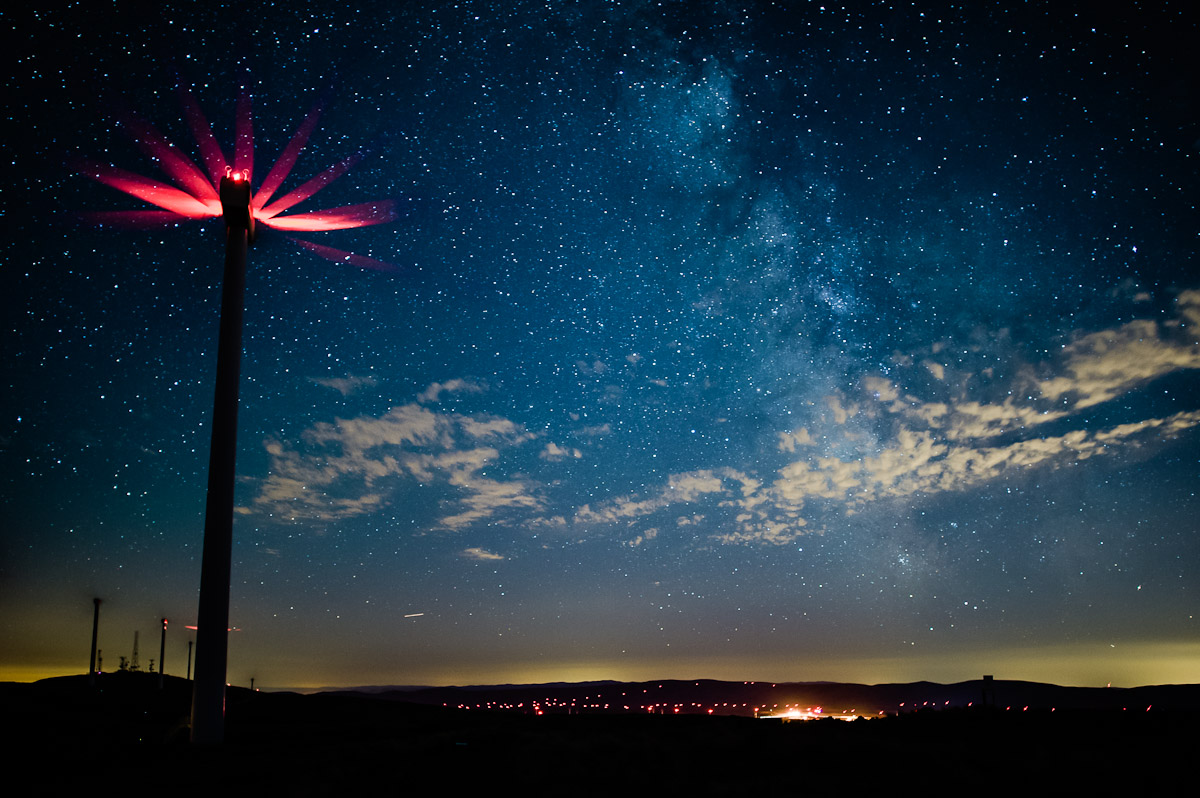 This happy accident of the red fingers was the result of working with what you have in front of you. When onsite, there are a few rules about how close and where you can be in relationship to the turbines. These rules in combination with it being really, really dark in uneven and rocky terrain has me not tromping out into the fields. So I was at the mercy of the wind direction. Had I had my initial choice, I would have had the nose of the turbine pointed at me in which case the red light would produce more of a catch light, but you learn to deal with what you are given and because of that I discover this very cool lighting pattern.
The above image is the same turbine with a flash. I had planned on light painting but forgot my big flashlights. So this turned into a bit of a onsite off camera flash workshop. I grabbed a flash out of the bag dialed in 1/8 power and started firing away. First thing I learned was how much light those little SB-900s will toss out into the complete darkness. I quickly learned it is easy to over expose the white turbines so you have to dial back the lights more than you think. Also I needed to have a flag or snot of some type so that the spill onto the foreground didn’t really impact the look and feel of the shot. There is also work I need to do to find a good color balance on the strobes to get them to match the background more effectively which changes considerably with cloud cover. I also did a little work firing multiple pops off the flash which produced interesting results, but you need to really be in tune to the position and location of the blades if possible. If you don’t, they can appear in strange patterns and positions. All in all it was a great workshop on using flashes on turbines at night. Well worth the price of admissions and the instructor wasn’t half bad. 🙂
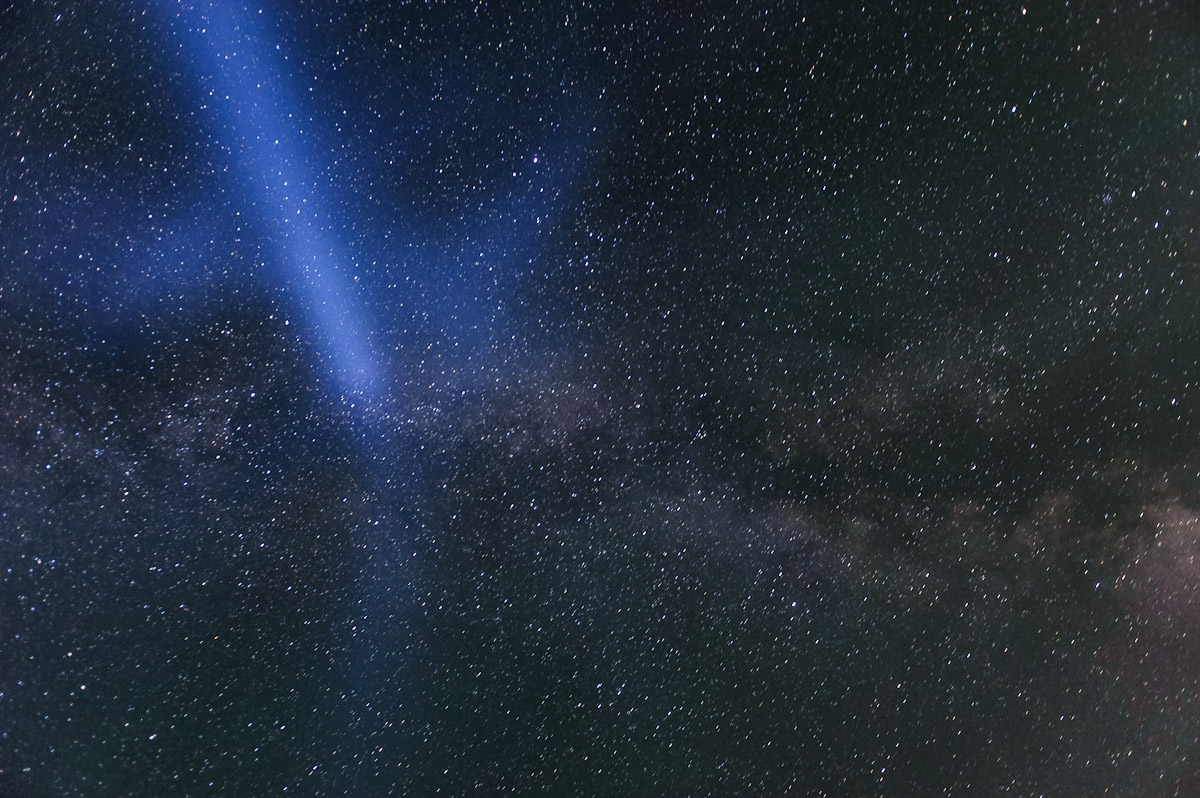
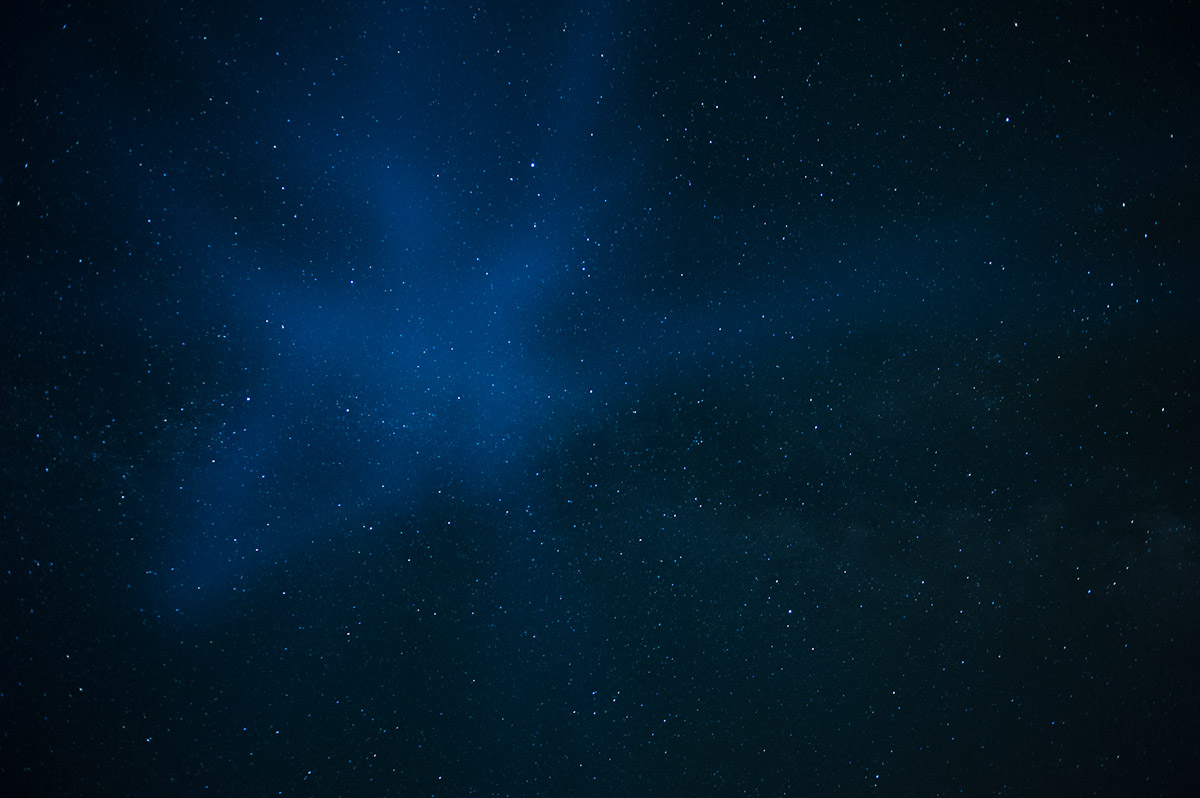
On this trip I forgot the most important tool in my nighttime tool kit–a big mag lite. Having a light to help you focus is priceless, and I had planned on light painting so I was really of of luck on both counts. So on the second day of the trip, we had to pick up a new flashlight for “the car” (justification where you can get it). On this night the smoke from the Travis Bridge fire was even more intense than the day before due to a shift in the wind. So when you shined the light out anywhere you got this great beam of light like a laser into the dark. The image below is me painting into the smoke that was floating overhead. Unlike the first image in the post, this image has a little change in the exposure and some really rapid movement of the flashlight to avoid the beam. As a result boom–nebula.
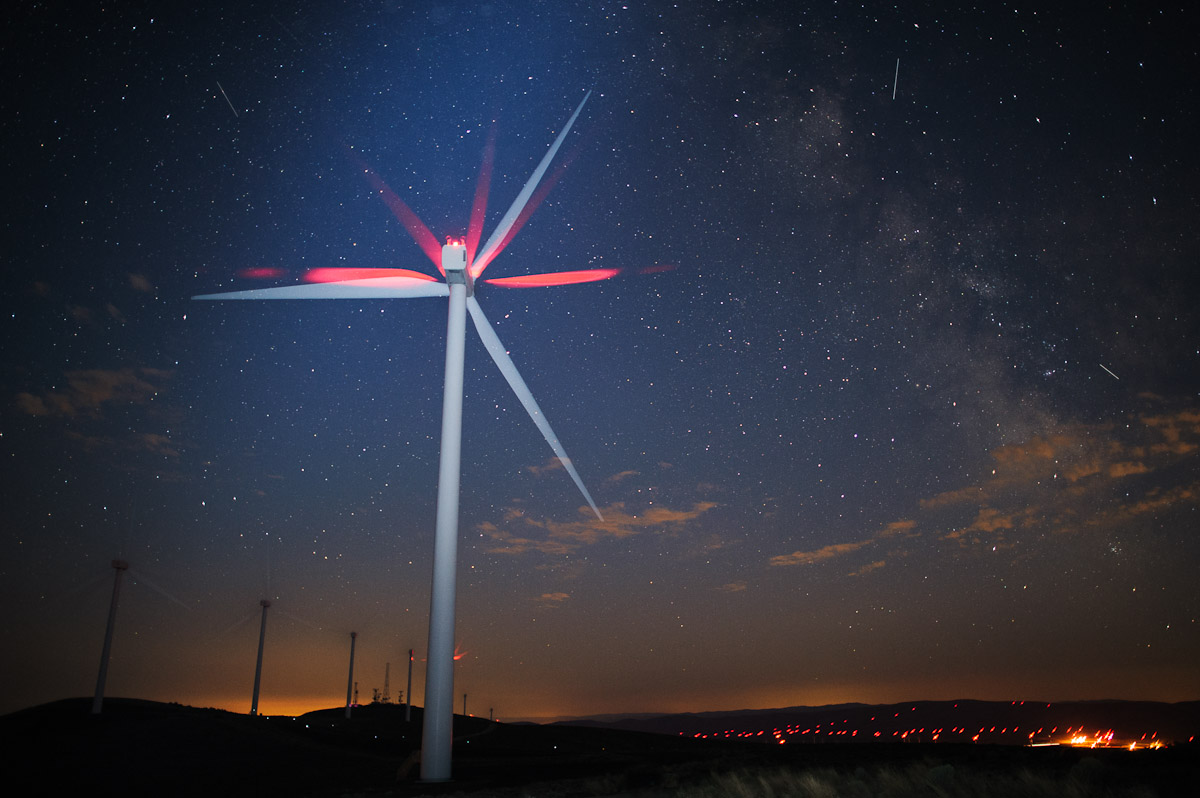
This next photo is a little light painting on the wind turbine. I am still sorting out the color balance issues between the blue from the LED lights, brown smoke ,white and yellow ambient light and the color in the sky it is a lot to work with for a natural look but I think I am getting closer to understanding how I want to gel the lights next time out. Outside color, one of the biggest pieces of concern for me is the presence of the motion of the blades. Without sensing this motion, you end up just have a big pole in the night so I was pleased with the exposure of the blade speed in this image.
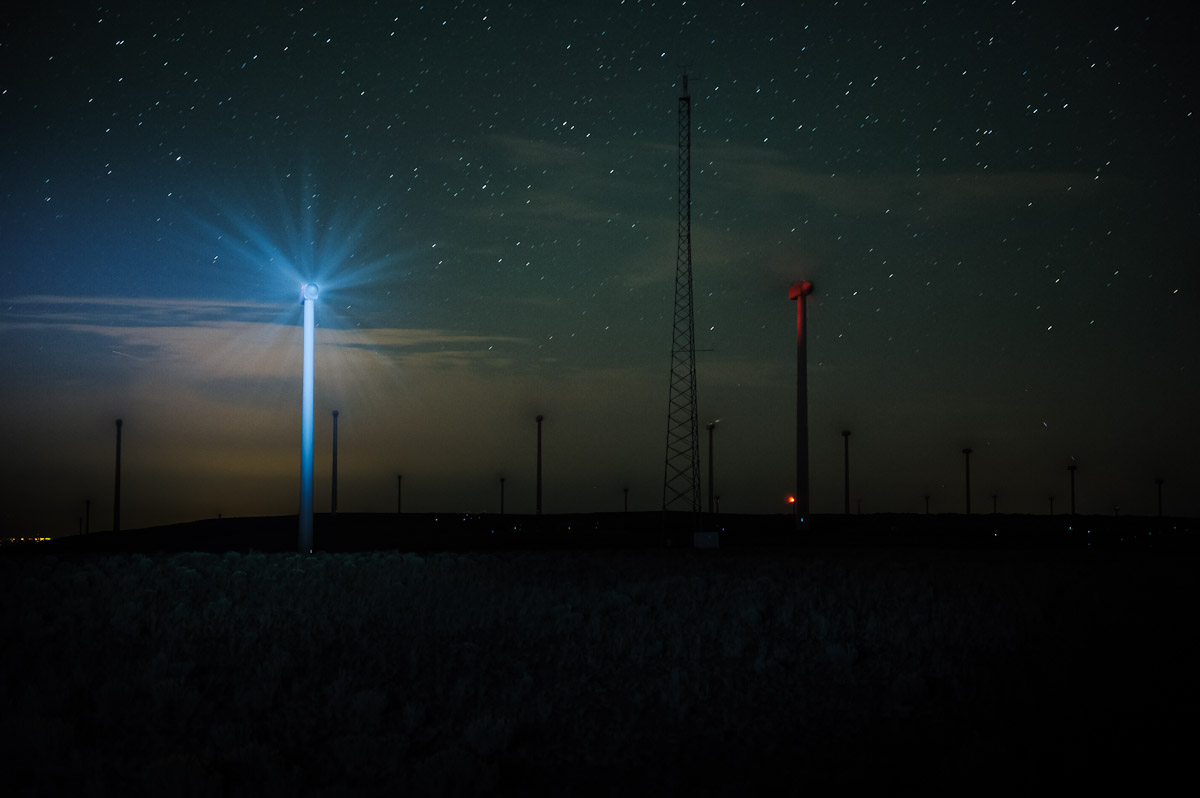 I have been asked a few times about the stars and my decision to keep them as point rather than star trails. I just imagined the shots as if they were quick frozen moments of time with the timelessness of the wind and infinite universe behind. So for this trip most of them were taking with faster exposures. With the movement of the earth the stars to start to blur when you get longer exposures (~20-30+ seconds). It isn’t really noticable in smaller prints but in the larger prints you can see that the stars that look like pin points on the screen are actually little lines of light. This is fine if you going for that look, but for these images I wanted to have as close to pin points of light as possible. So my friends over at Borrow Lenses were able to hook me up with a 24mm f/1.4 lens for my main camera body. My D700 produces workable images at ISO 1600. So the combination of a really shallow depth of field and a higher ISO got me down to 8-30 seconds on the average depending on what I was looking for in the image. It was a great tool to have on this trip

